
Once allocation has been accepted an RPO (reverse purchase order) can be created. To create an RPO select the period data and the store from the corresponding drop-down menus. If no store is selected the RPO created will include all stores. Allocated items for the period will be displayed in table format with the sub-total cost and total allocated pieces displayed above the table. Enter the taxes applicable for the sub-total amount and the shipping cost and click "Create".


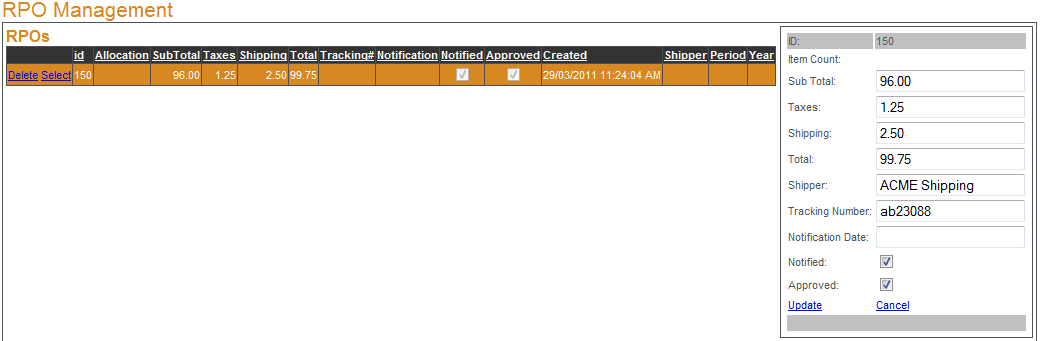
Existing RPOs can be managed by clicking
Select next to the RPO edited. Among the RPO properties than can be edited are the shipping company and tracking number. If the retailer has been notified of the RPO place a check mark in the box next to "Notified:" and enter the date of notification then click
Update to save. Once the retailer has approved the RPO place a check mark in the box next to "Approved:" and click
Update to save.
To export a detailed list of all items on the RPO click
Export CSV.
