To manage an item click
Select next to the item or enter an item number and perform an item search then select the item returned in the search result. The search function uses auto-complete as you type an item number into the search box. You can select from the list of item numbers that appear as you type or you can enter the first few characters of the item number and click "Go". All results that start with those characters will be returned.
Example: If you enter "BR4" and click "Go" then only items that start with "BR4" will be displayed. Optionally the Gender Filter may be set to display only the Gender selected.
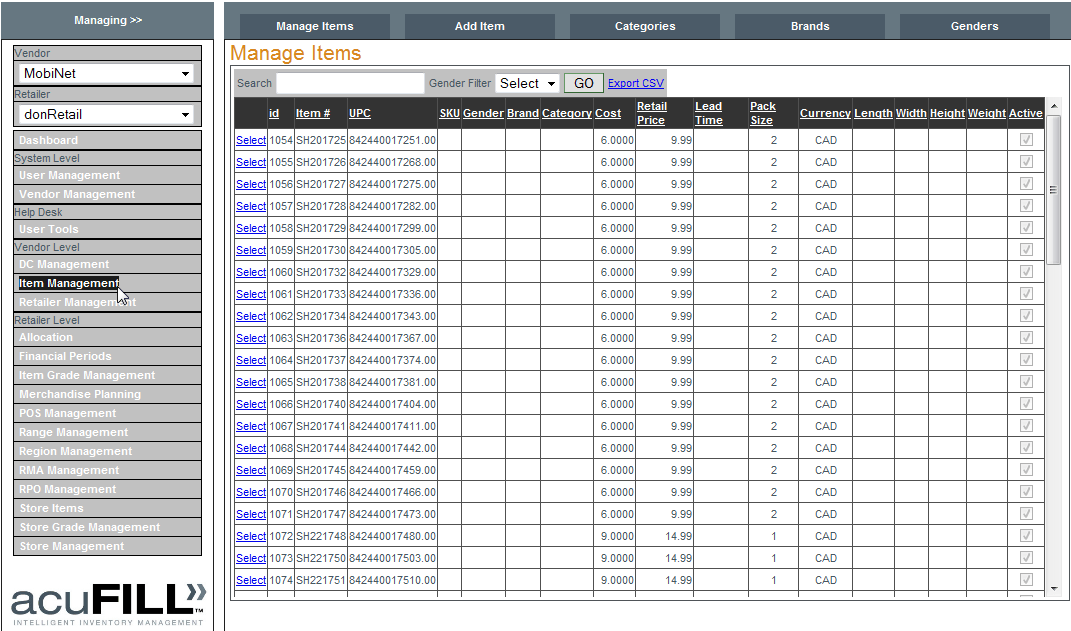
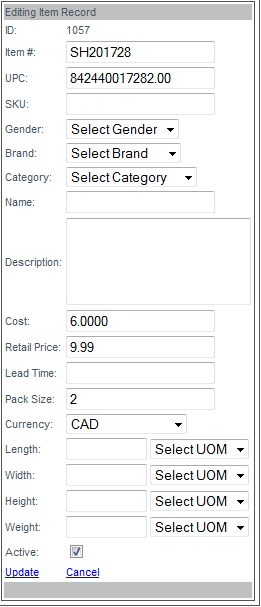
When the 'Editing Item Record' box opens edit the item properties and click
Update to save the changes (or
Cancel to cancel the changes and close the editing box).

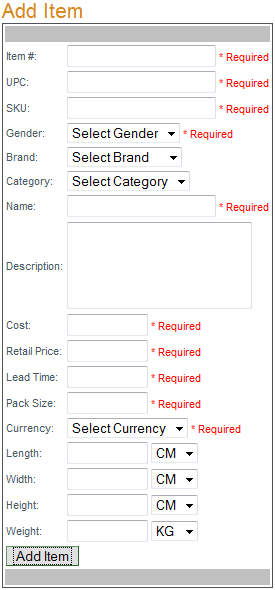
To add an item enter the item number and properties in the 'Add Item' box. In the 'Add Item' box item#, UPC, SKU, Gender, Name, Cost, Retail Price, Lead Time, Pack Size and Currency are all REQUIRED fields. Once all fields have been entered click "Add Item" to save the new item. When editing physical properties (weight and dimensions) take note of the measurement options available in the drop-down box (CM-centimeters, IN-inches, LB- weight in pounds, KG-kilograms).
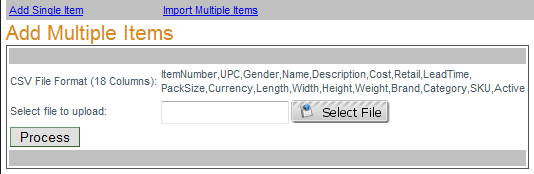
To add multiple items at once click
Import Multiple Items, select a properly formatted CSV file that contains the list of new items to be added by clicking "Select File". When the CSV has finished uploading (background turns green ), click "Process". CSV format required: 18 columns of data: itemNumber, UPC, Gender, Name, Description, Cost, Retail, LeadTime, PackSize, Currency, Length, Width, brand, Category, SKU, Active (in that order).

There are 2 options under the Categories component:
Manage Categories and
Add Category.
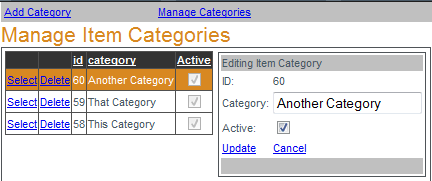
To manage a category (change its name or make it active/inactive) click
Manage Categories, then click
Select next to the category you want to manage. When the 'Manage Item Categories' box opens, edit the category's name/status and click
Update to save the changes. To delete a category click Delete next to the category. Categories cannot be deleted if they have items assigned to them. All item associations the category has must be removed before the category can be deleted.
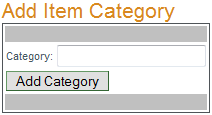
To add a category simply click
Add Category, enter the new category name in the 'Add Item Category' box then click "Add Category" to save the new category.

There are 2 options under the Brands component:
Manage Brands and
Add Brands.
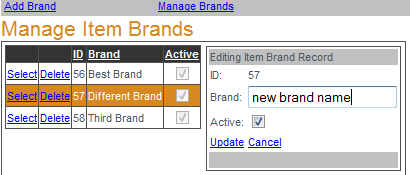
To manage brands click
Manage Brands, then click
Select next to the brand record to be edited. Edit the brand name and/or active status in the 'Editing Item Brand Record' box and click
Update to save the brand. To delete a brand click
Delete next to the brand to be removed. Brands with items assigned to them cannot be deleted. All associations between the brand and items must be removed before the brand can be deleted.
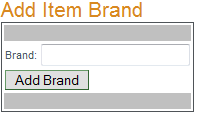
To add and item brand click
Add Brand then enter the name of the new brand into the 'Add Item Brand' box and click "Add Brand" to save.

There are 2 options under the Genders component:
Manage Genders and
Add Genders.
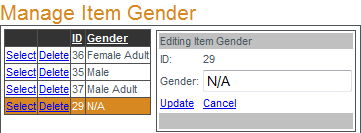
To manage genders click
Manage Genders, then click
Select next to the genders record to be edited. Edit the genders name in the 'Manage Item Gender Record' box and click
Update to save the gender. To delete a gender click
Delete next to the gender to be removed. A gender with items assigned to it cannot be deleted. All associations between the gender and items must be removed before the gender can be deleted.
To add and an item gender click
Add Gender then enter the name of the new gender into the 'Add Item Gender' box and click "Add Gender" to save.